


Flexmls’ newest version of buyer and seller Portals is out. In a few quick steps, you can improve your client interaction by setting up their customized Flexmls Portal.
Step 1: Click Contacts / Contact Management on the Flexmls Menu
1. Enter Client’s First and Last Name, email address and Click the Portal box
2. Click Add and Note the new Tabs below for this contact
The Home Tab shows Status is Pending. This means that an automatic email was sent to Invite your client to Portal, because you clicked the Portal check box above. You may want to follow-up with your client and inform them of email to verify.
Your client receives a similar message shown below:
From: Your Name [mailto:agentsemail.com] On Behalf Of Agent’s Name via flexmls
Sent: Tuesday, August 16, 2016 2:37 PM (current date and time)
To: Client Name <clientsemailaddress.com>
Subject: A "Portal" for listing information
[Agent’s Name] would like to connect with you
I've set up a customized website called a Portal for you. Using this site, you can keep track of listings, send me messages, and keep track of listings you like and dislike. Follow the link below and enter your login information to begin using your Portal. Once you are on the website, be sure to save the address as a Favorite so you can easily visit again. In the lower right panel of the Home Screen, you will be able to change your password to whatever you like.
To begin viewing listing and receiving updates from Agent’s Name, click Connect below:
***
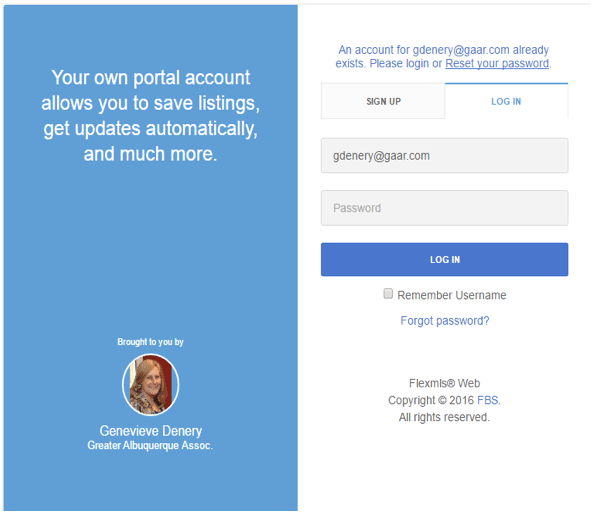
NOTE: When your client opens their email and clicks Connect or My Portal, the link opens a page as shown below with your picture and information, so they may sign up or login to the portal.
Step 2: Click Searches/Subscriptions Tab.
1. Add a Search
2. Create New Quick Search or Attach a Search you previously saved.
3. In this tutorial, we’ll create a New Quick Search… Choose Residential and click √ Use
4. Select the search options and SAVE (located on the top, right side of page)
- Title your search name
- Add comments if desired
- Choose Save (DO NOT choose Save and Add Subscription at this time)
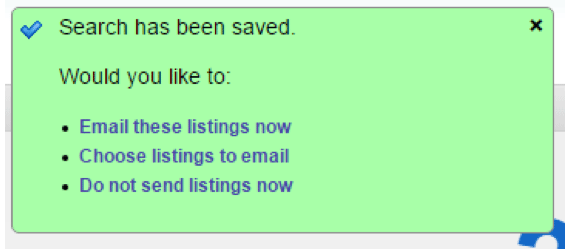
5. Choose Listings to email
6. Click View Results in a List on the FlexMLS page below “listings matched your search”
7. Review search results and checkmark the listings you want to include and delete those you wish to discard for client and SAVE any changes to Existing Search
8. Select Email these listings now
- Choose Interactive or Printer Friendly Version
- Use a template or write a personal message
- Click E-Mail
Step 3: Click Return to Contact Management, located on the upper, Left side of page.
Now we need to setup a Subscription so that any new or changed listings matching this search criteria are automatically sent by email to your client.
1. Ensure that the appropriate Search is highlighted in the Searches box
2. Click Add a Subscription 
- Preview mode should be Off
- (unless you want emails sent to you for review and not to the client)
- Check the Notification options
- Schedule how frequent updated listings that match criteria are sent to client
- E-mail content – use a template or write your own generic message and Save as New Template or write a personal message to your new client.
- Scroll to bottom and chose Save
You may go to Results to View listings that have been sent.


Comments